
Home
>
Products > Industrial Components
> Bushings
>
Brass Threaded Insert Flanged Step Bushing for Plastic and Metal Parts


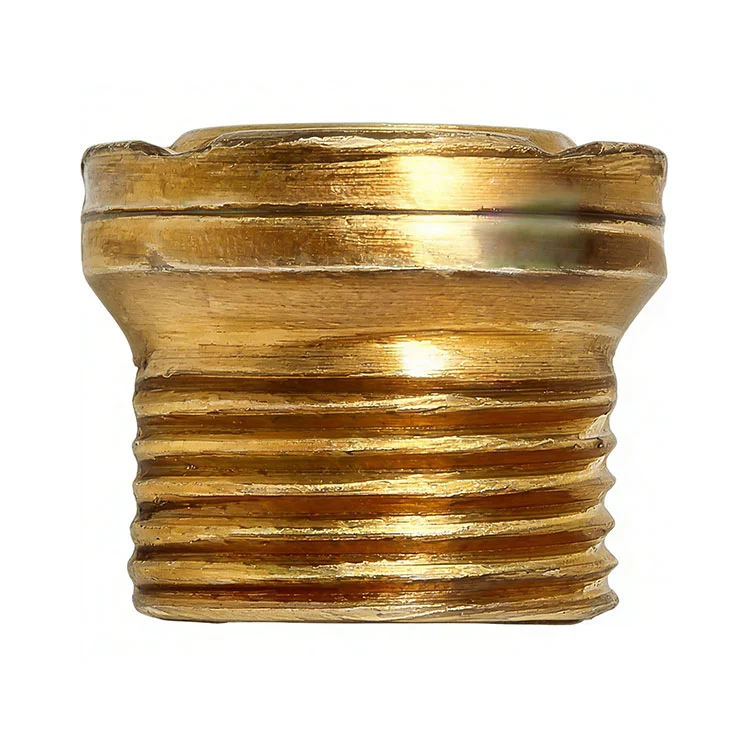

Brass Threaded Insert Flanged Step Bushing for Plastic and Metal Parts
Qimao Metal Manufacturer produce this Brass Threaded Insert Flanged Step Bushing For Plastic And Metal Parts that solves a common problem. You've got a plastic or thin metal part that needs threads. But the material is too soft to hold screws directly. That's where this flanged step bushing comes in. You install it into the part — either by press-fit, heat-staking, or molding it in — and suddenly you've got solid, reusable metal threads that won't strip out. Contact us and we offer good quality and competitive prices!
Send Inquiry
Product Description
Qimao Metal Manufacturer is a professional Brass Threaded Insert Flanged Step Bushing For Plastic And Metal Parts factory and supplier in China. The flange gives it a positive stop so you don't push it too deep. The step design matches different material thicknesses. We've been machining these for about seven years now. Small part. Makes a big difference in how long your assembly lasts.


Product Advantages
The flange prevents installation mistakes
No flange means guessing depth. Press too far and you crack the plastic. Not far enough and the screw bottoms out. Our flange gives you a hard stop. Press until it touches the surface. Done.
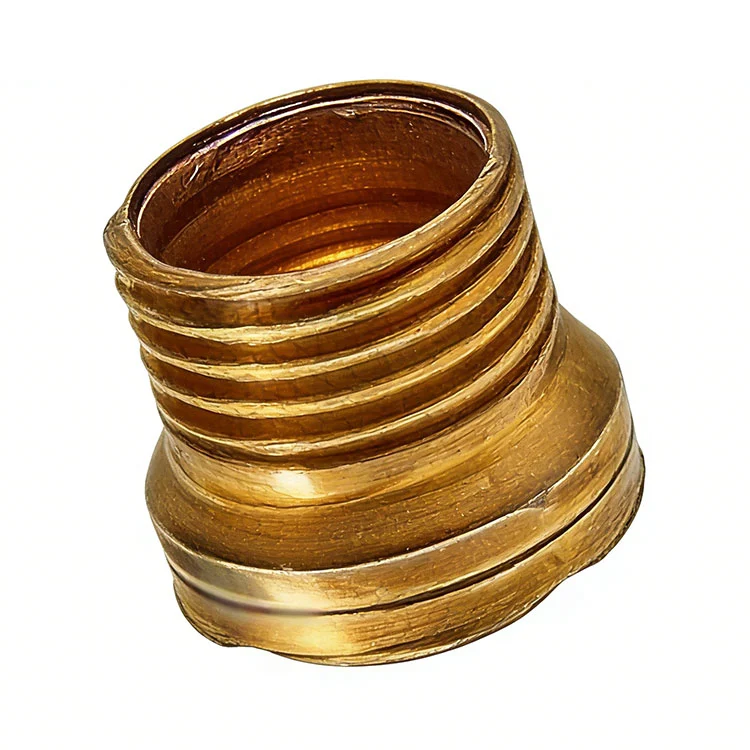
Step design fits varying material thicknesses
Standard Brass Threaded Insert Flanged Step Bushing For Plastic And Metal Parts are made for one wall thickness. Our step design works across a range. The smaller diameter goes in the hole. The larger diameter pilots it straight.
Brass won't rust
Some people use steel inserts in humid applications. Six months later, threads are seized. Brass handles moisture. No red rust. No stuck screws.
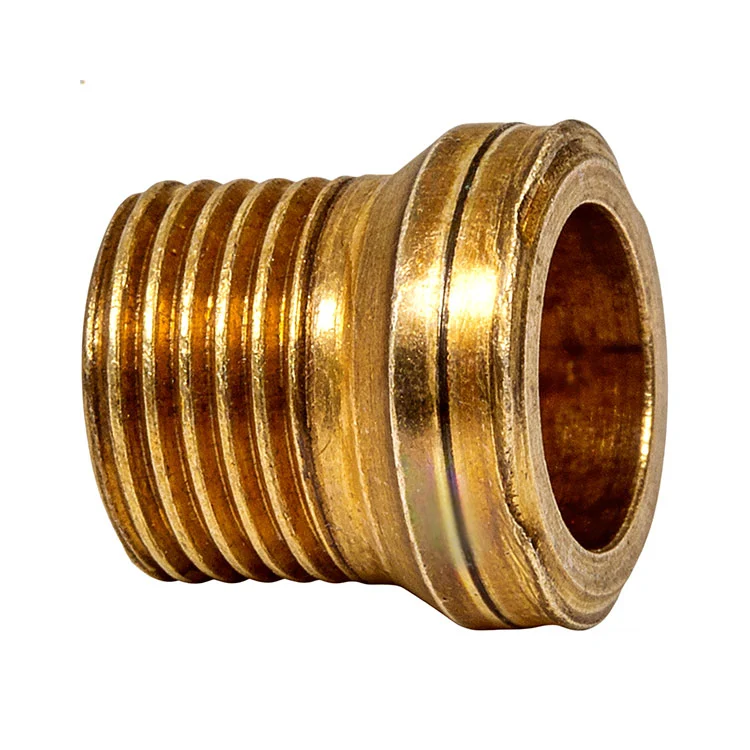
Knurling or smooth — your choice
Knurling bites into plastic. Smooth OD works for press-fit into metal. We do both. Not sure which one? Tell us your material and we'll recommend.
Consistent threads, every time
We cut metric threads to 6H tolerance. Standard for most applications. Not too tight, not too loose. A screw should go in by hand without wobbling. Ours do.
Product Parameter (Specification)
| Material |
Length (mm) |
Width (mm) | Weight (g) |
| Brass | 16 | 16/13 | 8.06 |
How to Know If You Need The customized Brass Threaded Insert Flanged Step Bushing For Plastic And Metal Parts vs. A Standard Bushing
| If you have | You probably need |
| Thin wall (under 2mm) | Flanged step bushing (yes, this one) |
| Thick wall (over 5mm) | Standard straight bushing |
| Material thickness varies | Step bushing — it accommodates variation |
| You need a depth stop | Flanged bushing — flange gives you a stop |
| You're molding it into plastic | Knurled straight bushing (no flange needed usually) |
Installation Tips
We've seen customers struggle with the product Brass Threaded Insert Flanged Step Bushing For Plastic And Metal Parts installation. Here's what works.
For plastic parts — Heat is your friend. Heat the insert with a soldering iron or a dedicated heat-set tool. Press it in straight. Let it cool for five seconds before touching it. If you press it cold, you'll crack the plastic about half the time.
For 3D prints — Use a chamfered hole, not a straight hole. The chamfer guides the insert and gives displaced plastic somewhere to go. No chamfer? The plastic bulges out the bottom.
For metal sheets — Use an arbor press, not a hammer. A hammer can deform the flange. A press gives you controlled force. Press until the flange touches the sheet. No deeper.
For wood — Drill a pilot hole slightly smaller than the insert OD. Run the insert in with a hex driver or a flathead screwdriver that fits the slot. Back it out and run it in again to clear debris.
Hot Tags: Brass Threaded Insert Flanged Step Bushing for Plastic and Metal Parts, China, Manufacturer, Supplier, Factory, Customized, Quality, Cheap, Made in China
Related Categories
Send Inquiry
Please feel free to fill your inquiry in the form below. We will reply you in 24 hours.
Related Products
 Aluminum Hex Sleeve Bushing for Industrial
 304 Stainless Steel Material Waterjet Nozzle Guide Bushing
 Metal Bushing with Knurling by Cold Heading Process
 Precision Steel Step Bushing Parts for Industrial Use
 Precision Split Steel Bushing with Lubrication Grooves
 Flanged Sleeve Bearing Steel Bushing For Shaft Support And Machinery


X
We use cookies to offer you a better browsing experience, analyze site traffic and personalize content. By using this site, you agree to our use of cookies.
Privacy Policy